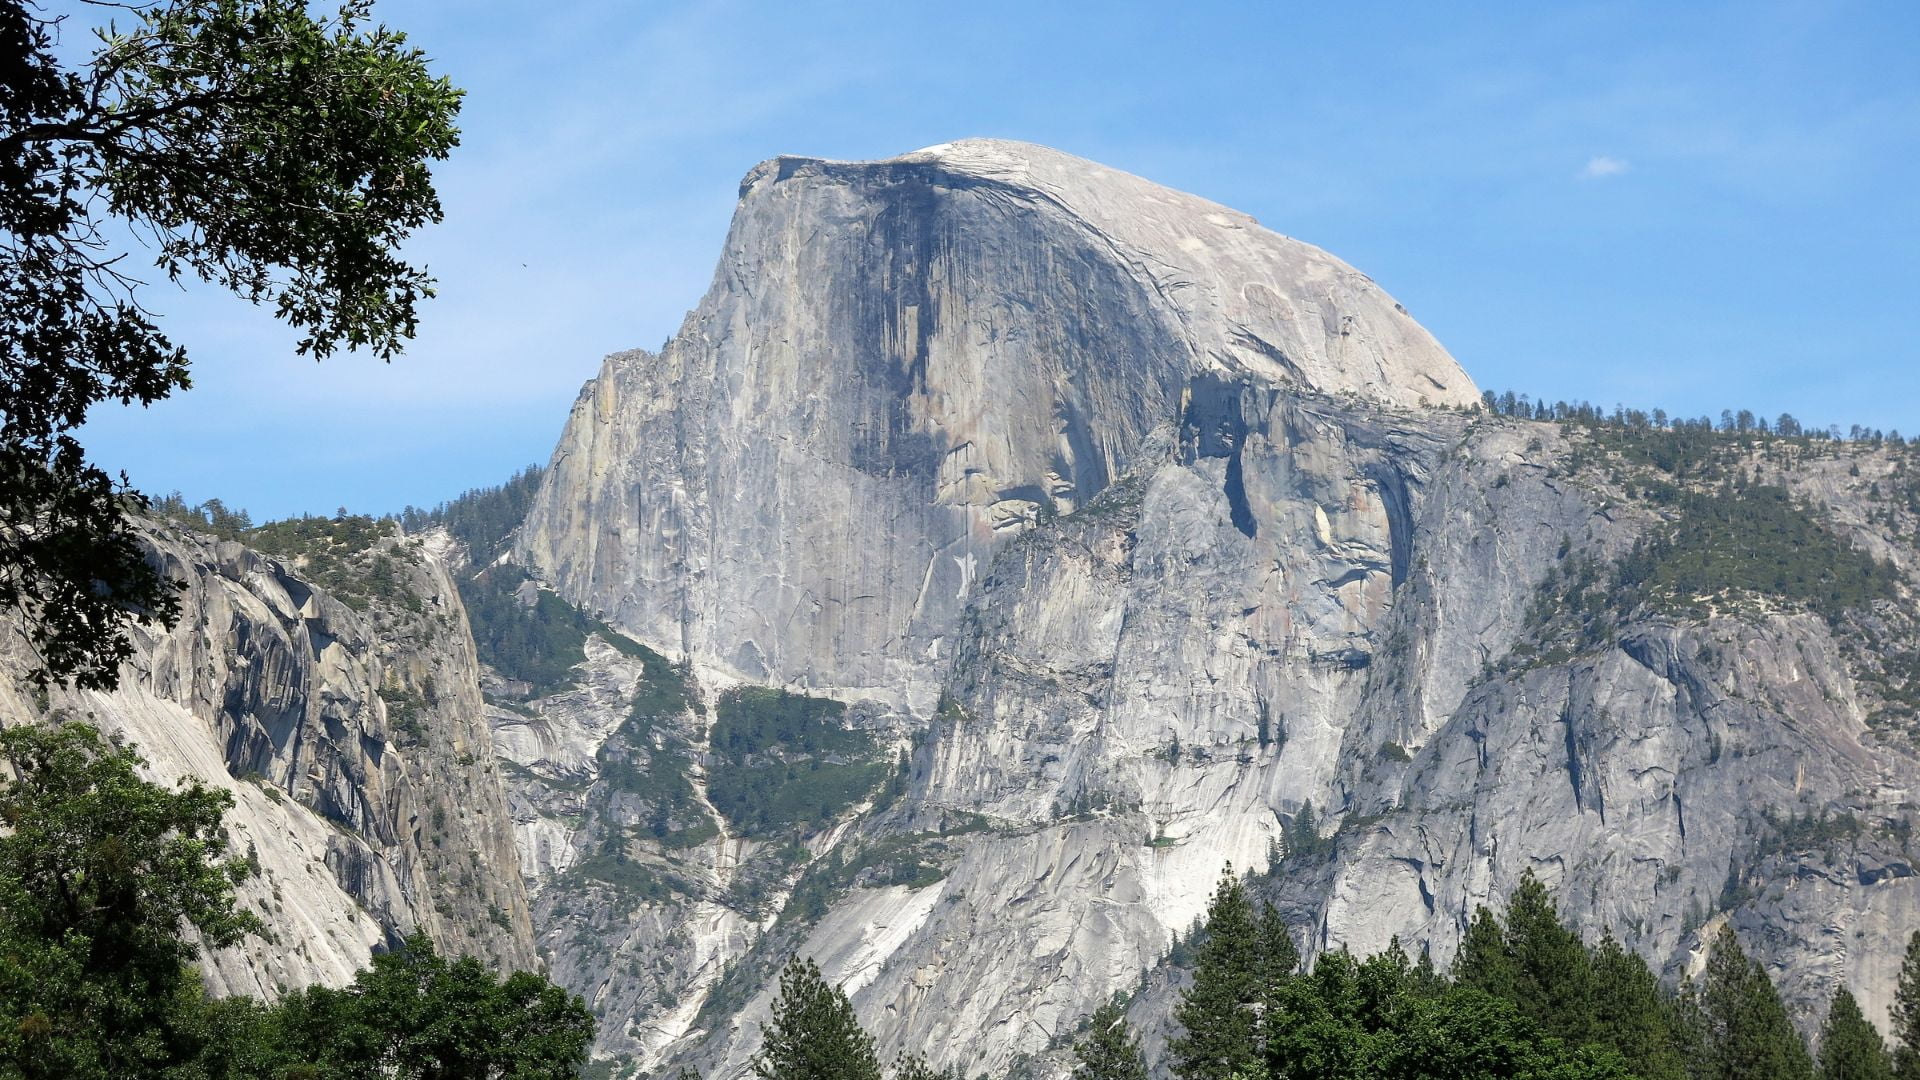
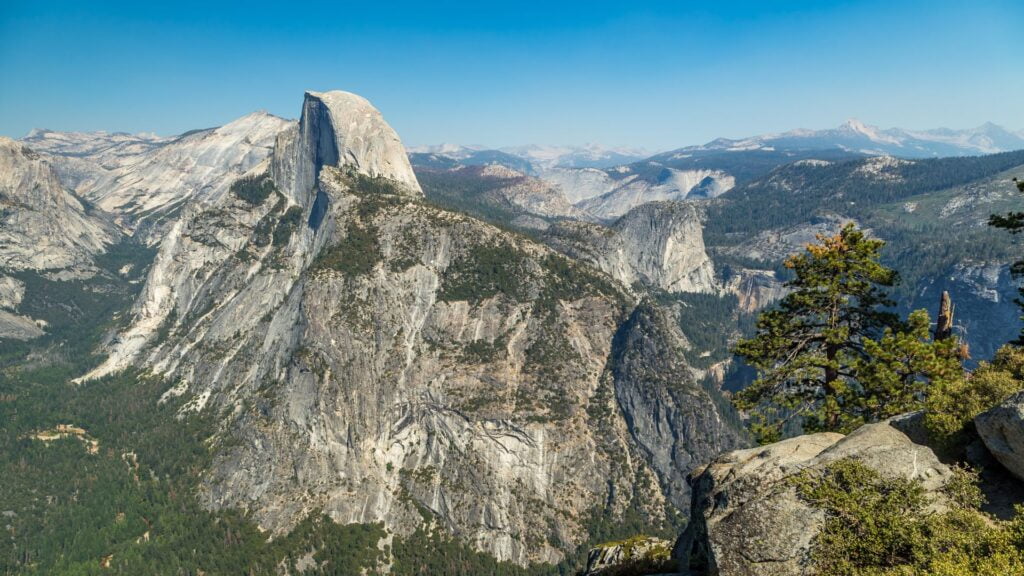
Half Dome is a quartz monzonite batholith (hard name, I know) located at the eastern end of Yosemite Valley, in Yosemite National Park. This 2,696 m (8,846 ft) peak is said to be one of the harder mountains to climb in the U.S. At the same time, Half Dome is on our list of the easiest mountains to climb on each continent. Why? Because the vast majority of non-professionals can climb it without much difficulty. In other words, you can probably hike Half Dome too. The question is: Will you like it? Here’s some intel that should help you enjoy climbing the most famous batholith in California.
Half Dome facts you might wanna know
The region where Half Dome is located was historically inhabited by Native Americans, in particular the Ahwahneechee people. The first documented ascent of Half Dome was performed in 1875 by the Scottish mountaineer George Anderson, who drilled iron eyebolts into the granite to assist his climb.
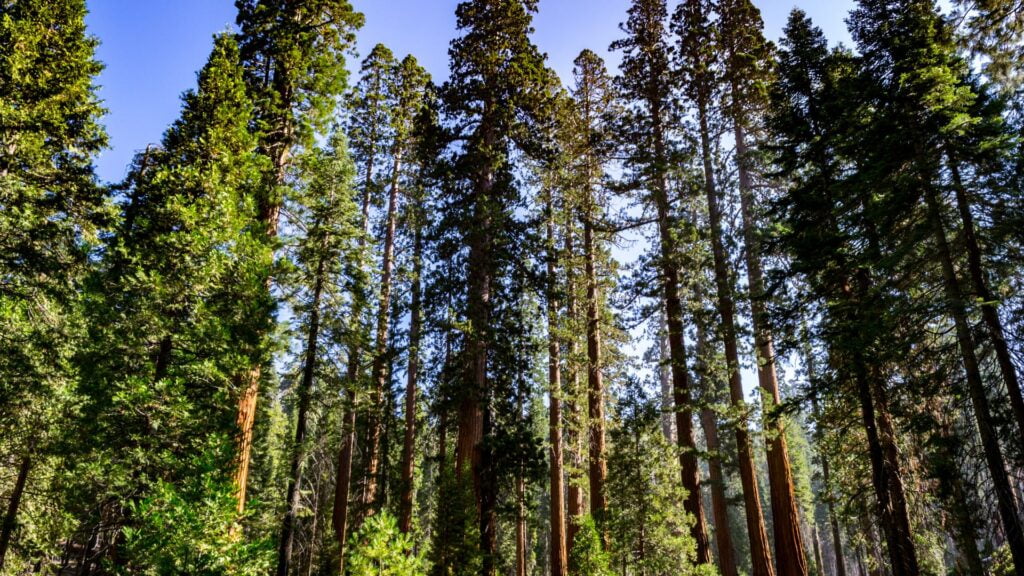
The Yosemite area is the place to be if you enjoy dense coniferous forests, alpine woodlands, and meadows. It’s also the place to see flora such as the giant sequoias, which are found in groves such as Mariposa Grove, Merced Grove, and Tuolumne Grove. Other common trees are western white pine, lodgepole pine, and mountain hemlock.
Giant sequoias from Yosemite National Park
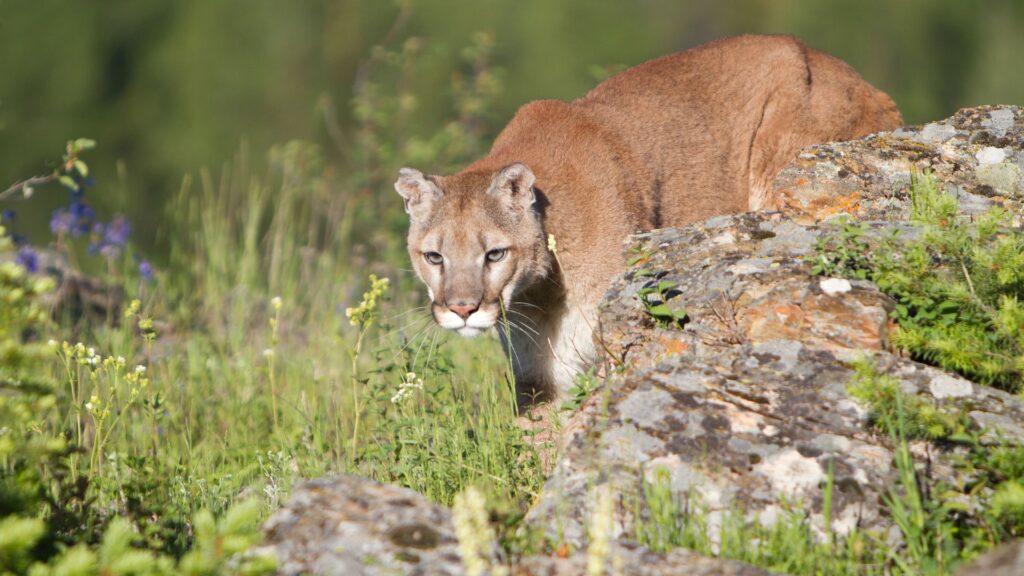
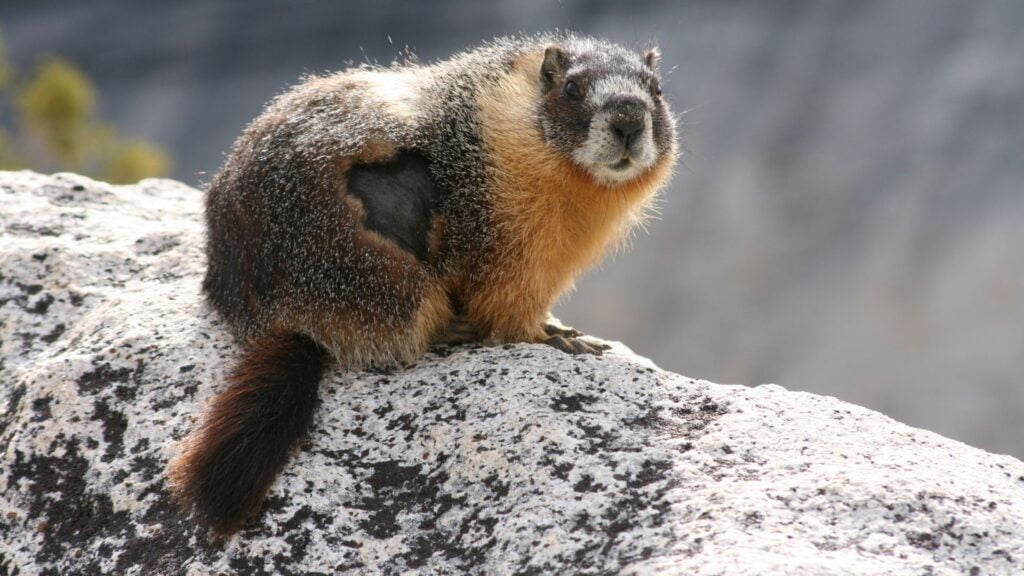
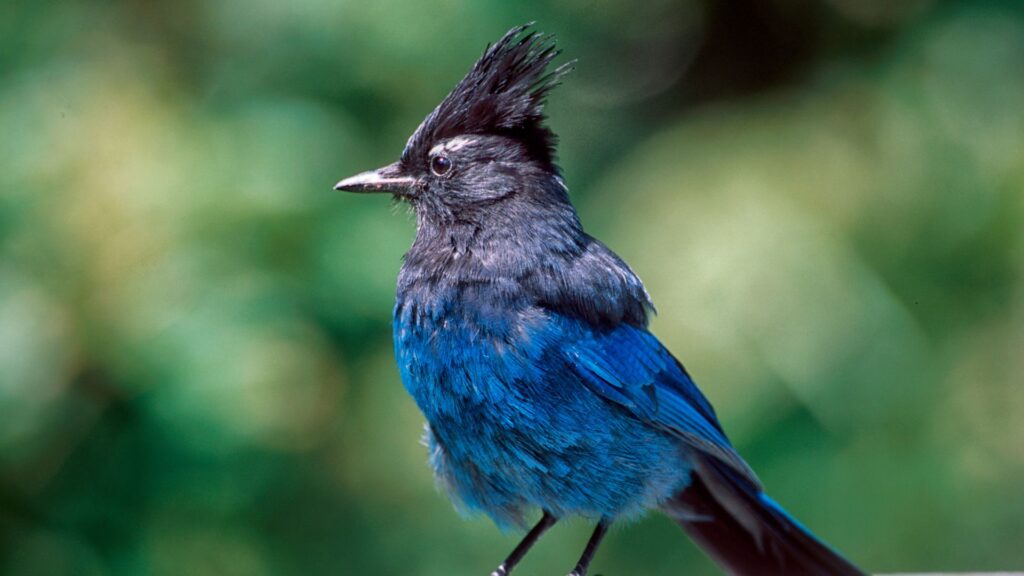
Common wildlife sightings include black bears, mule deer, and mountain lions. Smaller mammals such as the golden-mantled ground squirrel, chipmunks, and pika are also prevalent. If birdwatching is your thing, keep an eye on folks such as the mountain bluebird, Clark’s nutcracker, and Steller’s jay.
A mountain lion
Here’s a Yosemite marmot
And here’s a Yosemite chipmunk
This is how Steller’s jays look like
As already mentioned, Half Dome is a quartz monzonite batholith, which means is a large, intrusive igneous rock formation primarily composed of quartz monzonite, a type of granitic rock. Quartz monzonite is characterized by a balanced mix of quartz, plagioclase feldspar, and orthoclase feldspar, along with smaller amounts of biotite and other minerals. Batholiths form when magma from deep within the Earth’s crust slowly cools and solidifies before reaching the surface. This process results in large, coarse-grained rock masses that can extend over vast areas.
In the case of Half Dome, the quartz monzonite batholith originally solidified several thousand meters beneath the Earth’s surface within a magma chamber. Subsequent erosion gradually uncovered the solidified magma chamber and sculpted the unique half-dome shape.
Despite its reputation, Half Dome remains significantly more accessible to non-professional climbers compared to many other challenging peaks around the world. The mountain does not require technical climbing skills and the most difficult thing you will need to do is to ascent the last portion of the hike with the help of a set of cables bolted into the granite. More so, Yosemite National Park has a good infrastructure, with well-marked trails, ranger stations, and emergency services adding an extra layer of safety and accessibility to the hike.
Some notes on Half Dome permits and the lottery system
Permits are necessary to ascend the subdome steps and the final cable route to the summit. The permit system, which limits the number of daily hikers to 300, is meant to prevent overcrowding and reduce the risk of accidents.
There are two main ways to obtain a permit: the preseason lottery and the daily lottery. The preseason lottery application period is in March, and applicants are notified of the results in mid-April. This lottery allocates about 225 permits per day for day hikers. Each application can request up to six permits and specify up to seven date choices. You have to name a permit holder and an alternate during the application process, as these names cannot be changed later.
The daily lottery offers another chance to secure a permit and operates two days before the intended hike. Applications can be submitted from midnight to 1 pm Pacific time, and results are announced later that night. Approximately 50 additional permits are available each day through this lottery. Both lotteries require a non-refundable $10 application fee, and successful applicants must pay an additional $10 per person.
For those planning to camp, Yosemite backpacking permits that include Half Dome can be obtained through a separate process. You can apply for these permits as part of a wilderness permit application. Note that the Half Dome cables are typically in place from late May to early October, but these dates can vary based on weather and conditions.
A close look at the trail that will take you to Half Dome
Let’s take a close look at different sections of the trail that will take you to Half Dome.
Happy Isles to Vernal Falls
Your Half Dome hike will typically start at the Happy Isles trailhead in Yosemite Valley. This trailhead is perched at about 1,219 m (4,000 ft) and starts with a gentle meander through a lush, shaded forest. As you progress, the trail gets steeper, hinting at the first major milestone: Vernal Falls.
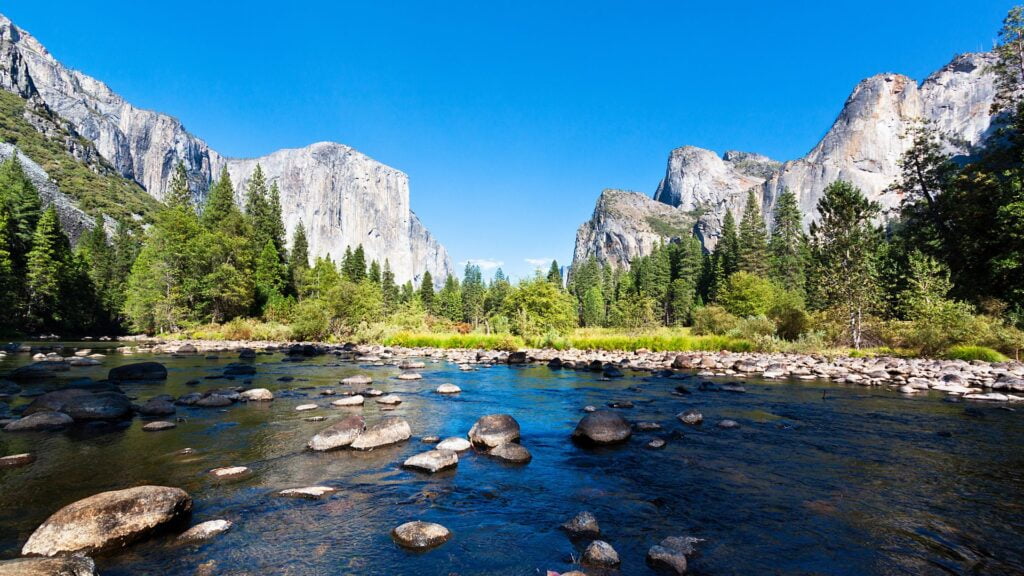
Yosemite Valley
It is said that it is best to begin the climb around sunrise to dodge the midday heat and make the most of the daylight. Note that snagging a parking spot near the trailhead can be a competitive sport, so arriving early can make a big difference, especially during peak hiking seasons.
The Mist Trail
The path to Vernal Falls is famously dubbed the Mist Trail. This section of the trail, roughly 2.4 km (1.5 mi) from the trailhead, is infamous for its challenging granite steps that snake alongside the Merced River. The section is also known for its close-up views of the waterfall and the refreshing mist that gives the trail its name. The trail can be especially slippery due to the constant spray from the waterfall, particularly in the spring and early summer when the water flow is at its peak.
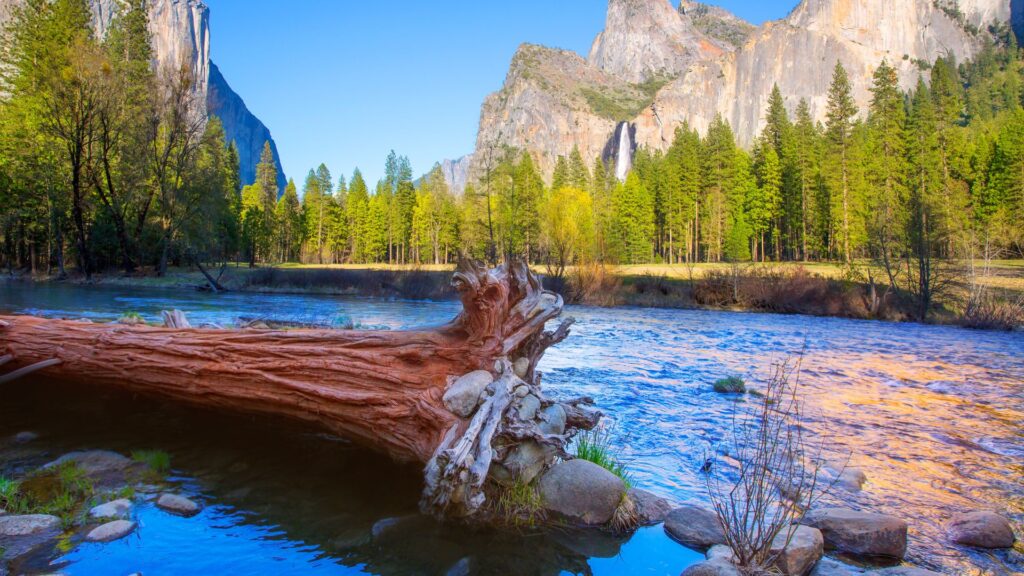
Merced River
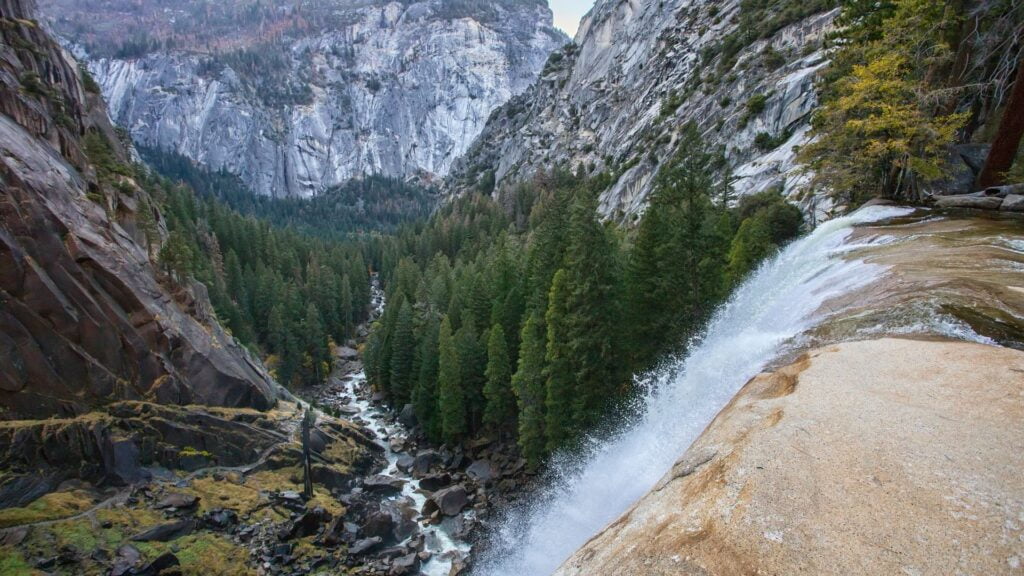
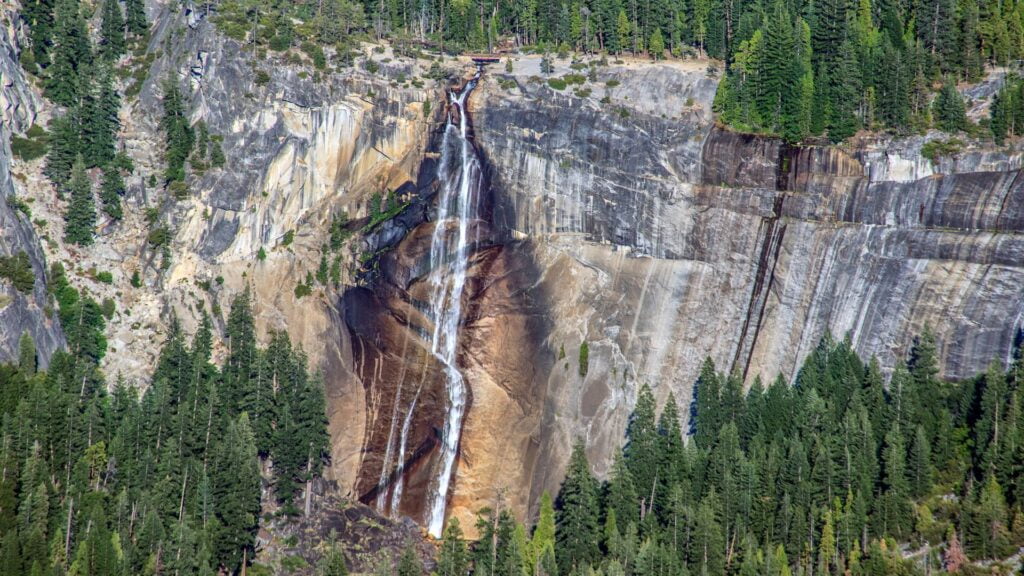
The roar of the waterfall grows louder as you approach, creating a rather fun atmosphere. Better yet, you’re often rewarded with views of rainbows forming in the mist on sunny days. At the top of Vernal Falls, you’ll find the 97-m (317-ft) waterfall cascading into the emerald pool below. This vantage point is really a good spot to take a break and soak in the scenery.
Vernal Falls
Vernal Falls to Nevada Falls
From Vernal Falls, the trail continues its ascent towards Nevada Falls, about 3.2 km (2 mi) ahead. This part of the hike is even steeper and more rugged than the path to Vernal Falls. Initially, the trail starts gently, winding through a forested area with occasional glimpses of the surrounding peaks. However, the climb soon becomes more intense, with rocky switchbacks leading up to the next major waterfall.
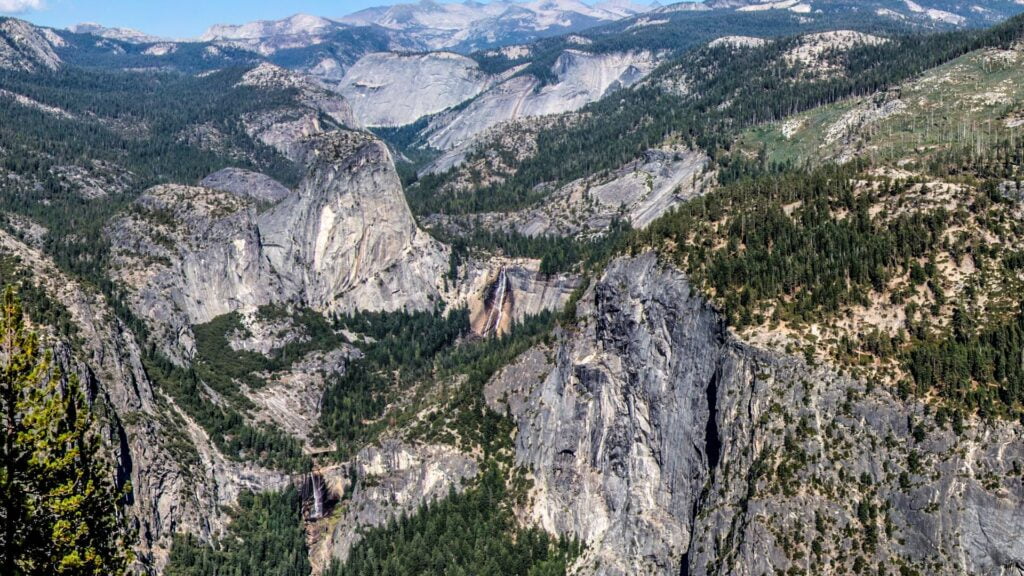
You’ll cross a bridge with views of Liberty Cap and Nevada Falls from a distance. This bridge marks the halfway point between Vernal Falls and Nevada Falls. The path then continues through a shady forest, which you might find refreshing if it’s a sunny day.
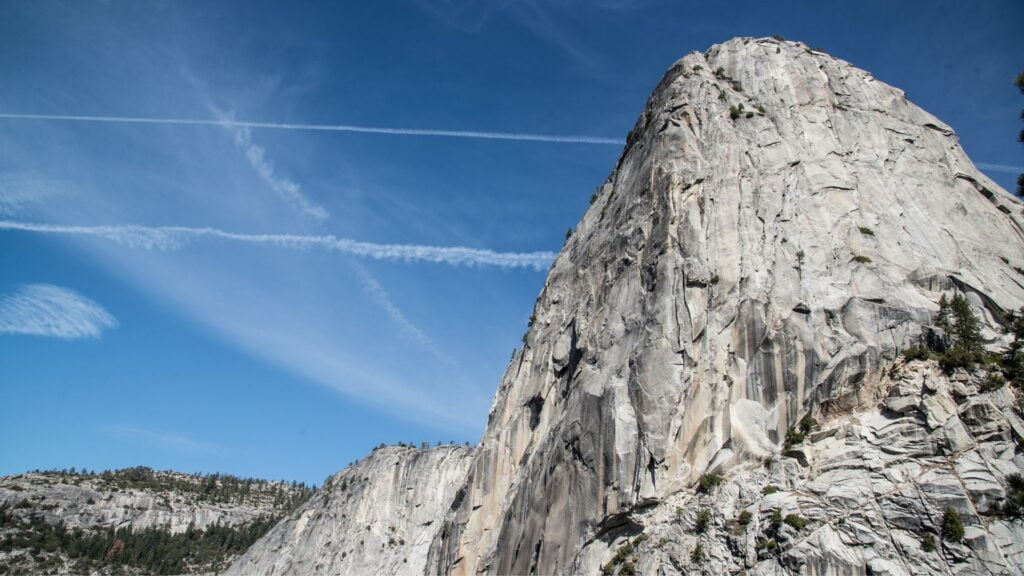
Liberty Cap
Standing at 181 m (594 ft), Nevada Falls is quite a sight, especially in the spring when the water flow is at its most powerful. At the top, you’ll panoramic vistas of the waterfall plunging into the rocky gorge below, with Liberty Cap rising in the background. There are also restroom facilities here, as well as places to refill water bottles.
Nevada Falls
Little Yosemite Valley
Nevada Falls precedes Little Yosemite Valley, a somewhat flat section that provides the respite from the steep climbing you might have been waiting for. This part of the trail is approximately 2.4 km (1.5 mi) and winds through a picturesque valley surrounded by towering granite peaks. This area is also a popular spot for backpackers to set up camp.
Little Yosemite Valley
Preparing for the Subdome
As you exit Little Yosemite Valley, you face the climb up to the subdome, one of the most physically demanding sections of the Half Dome hike. This part of the trail involves a steep ascent up a series of giant rock stairs, which can be particularly challenging after the exertion of the earlier sections. The stairs are uneven and require your full attention, so to speak. To make the best of this part of the trail, you likely need to have reasonable expectations in terms of difficulty and an average level of fitness.
The subdome is the final checkpoint before the Half Dome cables. Here, a ranger typically checks permits and provides a brief safety talk. The views from the top of the subdome are beautiful, providing a first glimpse of Half Dome’s summit.
The Half Dome cables
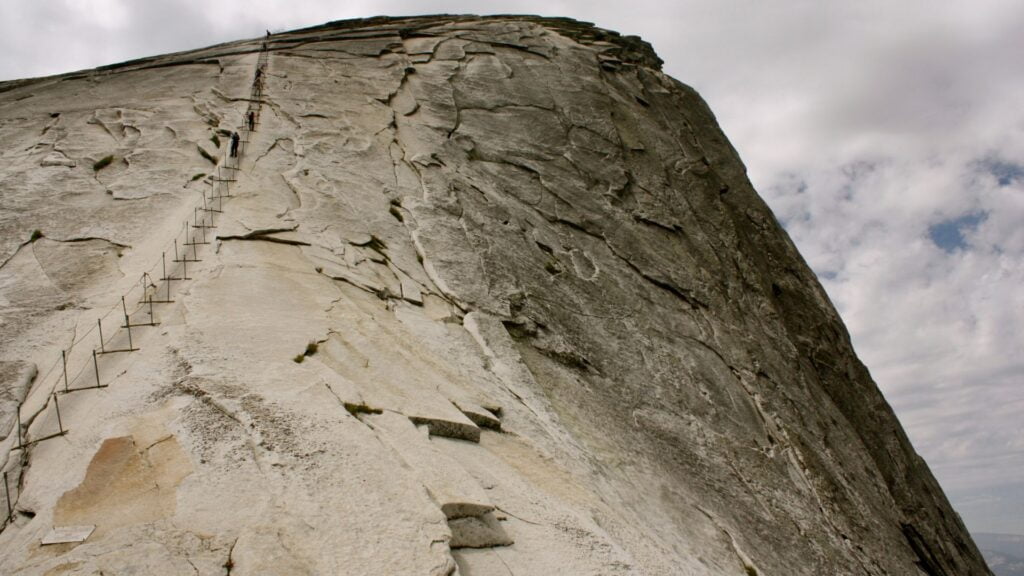
The Half Dome cables are the final challenge of the hike, ascending 122 m (400 ft) up a 45-degree granite slope. Installed initially by the Sierra Club in 1919, the cables run through a set of poles anchored into the granite, creating a handrail system. Between each set of poles, 2×4 boards are placed to provide resting points. This setup allows hikers to pull themselves up the steep rock face while maintaining balance.
Close-up view of Half Dome cables
Climbing the Half Dome cables is a somewhat challenging task that requires specific gear to ensure safety and comfort. It’s something to do only if you feel comfortable with the challenge, as there’s no point in exposing yourself to an unnecessarily high level of stress. If you’ve gotten so far, you can well say you have experienced almost the entire trail and have seen a good chunk of what it has to offer.
You need sturdy, broken-in hiking boots with excellent grip to navigate the slick granite surface. Many hikers use gloves, preferably nitrile work gloves, for a good grip on the cables. These gloves are lightweight, grippy, and protect against blisters. Some hikers opt for a climbing harness and a via Ferrata system for added security. This system includes a harness with two shock-absorbing cords and carabiners that clip onto the cables, providing a safety net in case of a slip.
Arriving at the cables early in the morning usually means encountering fewer hikers. By mid-morning, especially between 11 am and 2 pm, the cables can become crowded, sometimes with lines forming at the base.
Ascending the cables can be intimidating due to the steep angle, the slick granite, and the sheer drops on either side. The poles and boards supporting the cables can sometimes wobble, adding to the anxiety. But it can also be an exciting experience, right?
To make your climb up the cables as safe and smooth as possible, consider following these tips:
- Leave trekking poles: Leave your trekking poles at the base of the cables. Carrying them attached to your pack can be a hazard to other hikers.
- Secure your gear: Secure all your gear inside your pack, including whatever is in your pockets. Do not attempt to grab anything that is falling.
- Don’t look around: Don’t look up, don’t look down, and don’t look out to the sides. Focus on one set of poles at a time.
- (Very Important) Stay inside the cables: Do not go outside of the cables.
- Check the poles: Don’t put your weight on a pole until you know it’s securely in the hole. Don’t pull up on a pole; it can come out of the hole.
- Let others pass safely: If someone wants to pass you, let them do so, but do not move to the outside of the cables.
- Handle panic: If you panic, just stop and try to relax. If you feel too much anxiety, turn around and go back down backward.
Descending can be as challenging as ascending. Some hikers prefer to go down backward, facing the granite, to maintain better control and balance. Others go down facing forward but at a slower pace. Regardless of your method, keep a firm grip and move cautiously. Ensure that you have gloves with a good grip to prevent slipping
You will want to avoid the cables if rain is forecasted. The combination of slick granite and the steep angle makes the cables extremely hazardous when wet. Lightning also poses a serious danger. If caught in a storm, seek shelter immediately and avoid the summit.
The Half Dome cables can be dangerous due to: the steep angle, slick granite, weather conditions, and the sheer drop-offs. Over the years, a few hikers have lost their lives on the cables, often due to wet weather. That being said, tens of thousands of hikers climb Half Dome each year and as long as you follow all safety instructions, the hike is fairly safe for the vast majority of healthy individuals.
The descent from Half Dome is quite challenging as well, particularly when descending the cables. Once past the cables, you can return on the same path or take the John Muir Trail instead of the Mist Trail to avoid the steep, slippery steps.
The Half Dome summit
The summit is a vast, mostly flat surface about the size of 17 football fields. You’ll be exposed to a 360-degree pretty view that encompasses the Yosemite Valley, the High Sierra, and beyond. If you have mixed feelings towards heights, you might find the sheer drop of over 1,220 m (4,000 ft) to the valley a bit intimidating.
On clear days, you can spot Glacier Point, the spiky summit of Clouds Rest, and the bulk of El Capitan – another of Yosemite’s famous granite monoliths. The vistas stretch far and wide, with the Merced River snaking through the lush valley below.
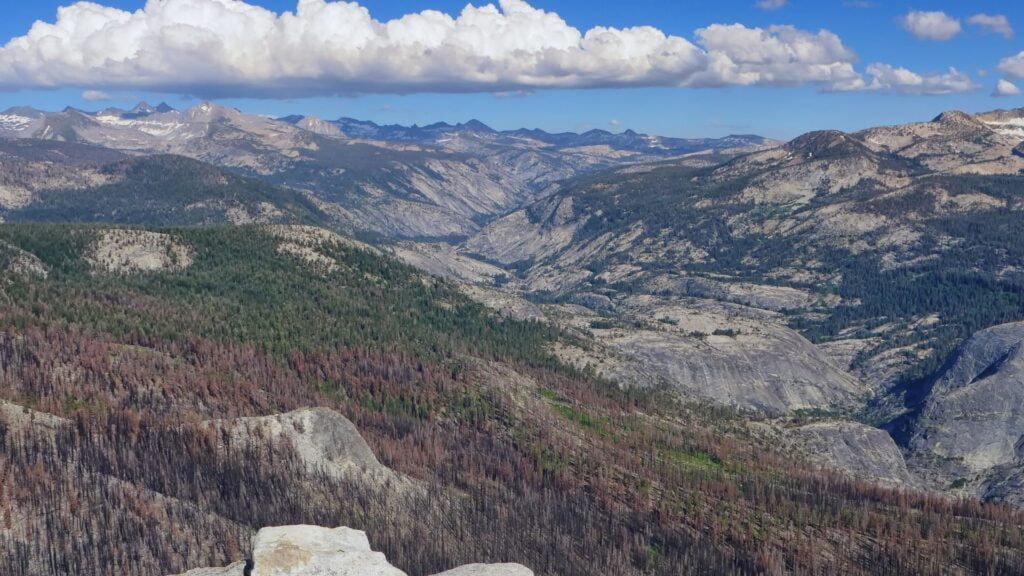
High Sierra
Can you tell which one is Glacier Point?
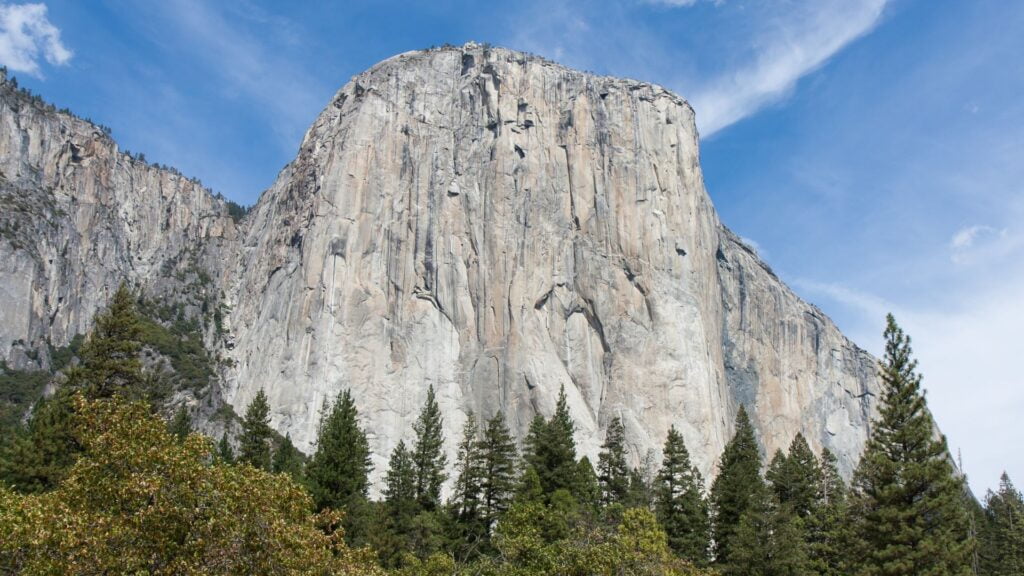
El Capitan
Clouds Rest
While at the summit, you might encounter some of Yosemite’s resident wildlife, with chipmunks and marmots being frequent visitors to the top. Occasionally, you might spot the rare Mount Lyell salamander, which thrives in the cool, moist environments created by the high altitude.
Half Dome day hike vs. backpacking
There are two main ways to climb Half Dome: 1) Go for a day hike and 2) go backpacking. Hiking Half Dome in a single day usually involves starting early in the morning, usually around sunrise to avoid the midday heat, and ensure you have enough daylight for the return trip. It’s the kind of trip you want to take if you’re in a hurry and don’t mind waking up early in the morning. One of the main advantages of a day hike is that you will likely carry a lighter pack than on a backpacking trip, as you won’t need overnight gear. The list of potential disadvantages includes having to secure a day hiking permit, waking up early in the morning, and having to maintain a good pace in order to complete the hike on time.
Backpacking Half Dome is, of course, a more relaxed and immersive experience. If you take it slowly, you’ll be able to break the journey into manageable segments, typically over two to three days. In other words, you might enjoy it more. A common route involves hiking to the Little Yosemite Valley campground on the first day, summiting Half Dome on the second day, and then returning to the trailhead on the third day. Backpacking is likely the better option when you have plenty of time, want to enjoy the area to the largest extent, and want to have a flexible summiting schedule.
Where to stay when exploring Yosemite National Park
Staying within the park allows for easy access to trailheads and other park amenities. Yosemite National Park lodging options include one luxurious hotel, rustic campgrounds, and several other types of accommodation. The Ahwahnee, Yosemite’s only luxury hotel, is the place to go if you like it fancy all the time and you want to take a close look at what some call ‘grand’ architecture. Yosemite Valley Lodge, located near Yosemite Falls, is the place to go for a more traditional lodge experience while the Wawona Hotel is an option to consider if you want to sleep in a Victorian-style lodge.
Better options, in my opinion, are the Curry Village and Housekeeping Camp. These are the places to go for more rustic options, with tent cabins and open-air accommodations. For a more remote experience, consider staying at White Wolf Lodge or Tuolumne Meadows Lodge, both of which offer canvas-sided tent cabins in high country settings.
Yosemite has 13 campgrounds, but reservations can be challenging to secure, especially during peak seasons. Campgrounds like Upper Pines are popular and often fully booked months in advance. If you prefer a more “structured” camping experience, the High Sierra Camps is the place where you can stay in remote wilderness locations but still receive meals and tent cabins provided by reservation or lottery.
When in-park accommodations are unavailable, consider finding accommodation in towns like El Portal, Mariposa, Fish Camp, and Groveland. Your options include hotels, motels, bed and breakfasts, and vacation rentals.
Half Dome tours
There are many guided tours in Yosemite National Park and some of them will take you to Half Dome. If you are looking for a guided tour to the summit, consider going with the high-rated YExplore Yosemite Adventures tour company. The Half Dome guided trip they offer includes preparation, trail knowledge, and coaching, including assistance on the cables.
The costs of trekking Half Dome
To hike Half Dome, you must secure a permit, which costs $10 per application. If you win the permit lottery, an additional $10 per person is required.
As you might suspect, staying at the Ahwahnee can be quite expensive, ranging from $300 to $500 per night. More affordable options include Yosemite Valley Lodge or Curry Village, where prices range from $150 to $300 per night. Outside the park, towns like El Portal and Mariposa offer hotels and motels with even more budget-friendly rates.
Prices for guided tours typically range from $200 to $400 per person for a day hike. For multi-day backpacking trips that include camping and meals, costs can be significantly higher, often between $800 and $1,600 per person.
Other things to do in Yosemite National Park
Whether you feel prepared to hike Half Dome or not, the trekker in you is likely to find Yosemite National Park a very cool destination. The park has an extensive network of hiking trails, ranging from easy walks to strenuous backcountry routes. Popular hikes include the Mist Trail, which takes you up close to Vernal and Nevada Falls, and the Yosemite Falls Trail, which offers pretty views of North America’s tallest waterfall. For a less crowded experience, consider the Taft Point and Sentinel Dome trails, which provide nice vistas of Yosemite Valley and its granite landmarks.
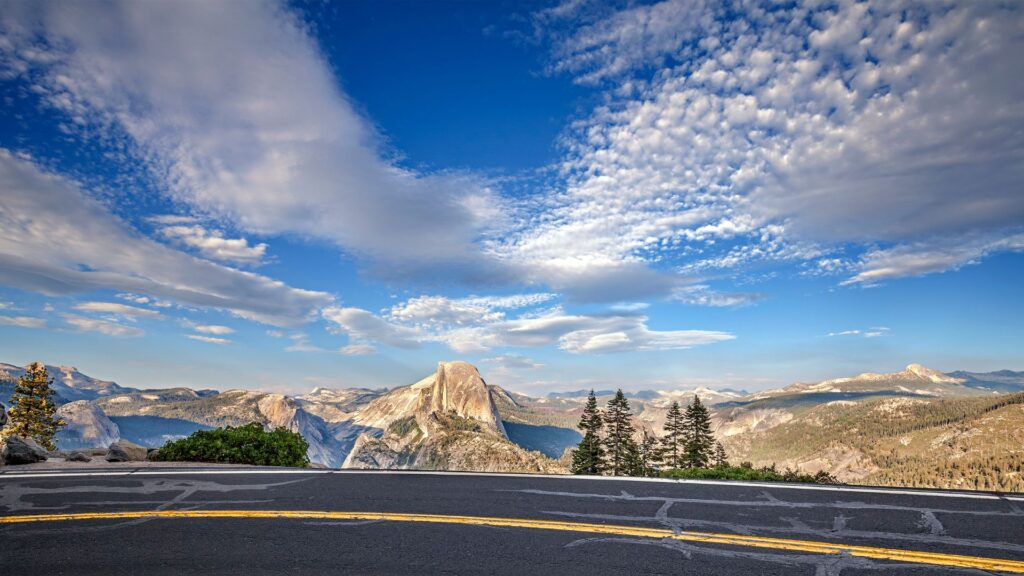
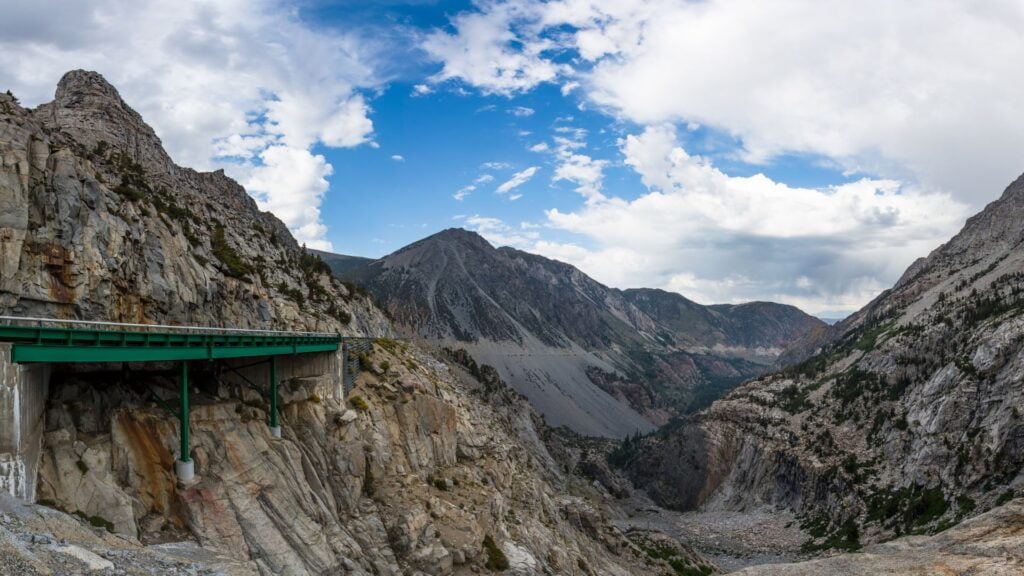
Yosemite is also a place to go for scenic drivers. The best examples in this category are arguably Glacier Point Road and Tioga Road. Glacier Point Road leads to Glacier Point, a place from where you can see Half Dome, Yosemite Falls, and the High Sierra. Tioga Road, which crosses the park from west to east, is the kind of road with access to alpine scenery, pristine lakes, and meadows filled with wildflowers.
The road to Glacier Point. Scenic, right?
Somewhere on the Tioga Road
In the warmer months, the Merced River is a good option for rafting and swimming. And if you want to do some wildlife watching, keep an eye on black bears, and mule deer.
For the person of culture in you, consider going to the Yosemite Museum and learning about the park’s history. There’s also the Happy Isles Art and Nature Center, which provides natural history exhibits, interactive displays, and art workshops.
Finally, if you’ve already climbed Half Dome or don’t feel like doing it, why not give a chance to El Capitan? This 914 m (3000 ft) granite monolith can be reached from Yosemite Valley on the trail next to Yosemite Falls, then proceeding west. Your challenge is to climb up the sheer granite face. There are many named climbing routes, all of them quite challenging, including Iron Hawk and Sea of Dreams. If you don’t feel like doing this alone, consider going on the 3-hour guided tour poetically called “A Rock Climber’s Odyssey”.
Bottom line: To enjoy Half Dome, don’t overdo it
Half Dome is not the easiest trek in North America. That being said, it’s also not the Everest and most healthy people can climb it provided they can tolerate the sense of fear they may experience when using the Half Dome cables. And if the thought of those cables makes your palms sweat just reading about them, there’s no reason why not to enjoy the rest of the route. To put it differently, don’t overdo it, meaning don’t put yourself at an unnecessarily high level of stress.
Last but not least, let’s not forget, Half Dome is just one piece of the Yosemite pie. Don’t let any qualms about this trek stop you from exploring the rest of this park. After all, there are plenty of other breathtaking sights that don’t involve pretending you’re about half the spider Spider-Man is.

