Building a real igloo, aka, a functional one, is no art. In fact, this is something that almost anyone can do in just a few steps. By making your own igloo, you’re not only going to showcase your ingenuity but you’ll also know how to make a cozy, insulated shelter whenever you need it. So if you have decided igloo construction is something you wanna try, hold on, as I know how to build one in seven steps.
Let’s start with the known history of igloos
If you’re going to make an igloo, you may well first learn a few things about the origin of these structures. Igloos are also known as snow houses or snow huts and have been an essential part of Inuit culture for centuries. The word “igloo” originates from the Inuit term “iglu,” meaning “house” or “shelter.” Historically, igloos were used as temporary shelters during trips, as they provided the much-needed insulation from the harsh Arctic climate.
Perhaps a little-known fact is that there are three traditional types of igloos: small igloos for short-term use, intermediate-sized ones for family dwellings, and large igloos for community events. The smallest igloos, often used during trips, are relatively easy to build and typically serve as shelters for one or two nights. Intermediate-sized igloos were used as semi-permanent family dwellings, housing one or two families and forming small villages when built in groups. The largest igloos, sometimes consisting of up to five rooms and accommodating up to 20 people, were constructed for special occasions like community feasts and traditional dances.
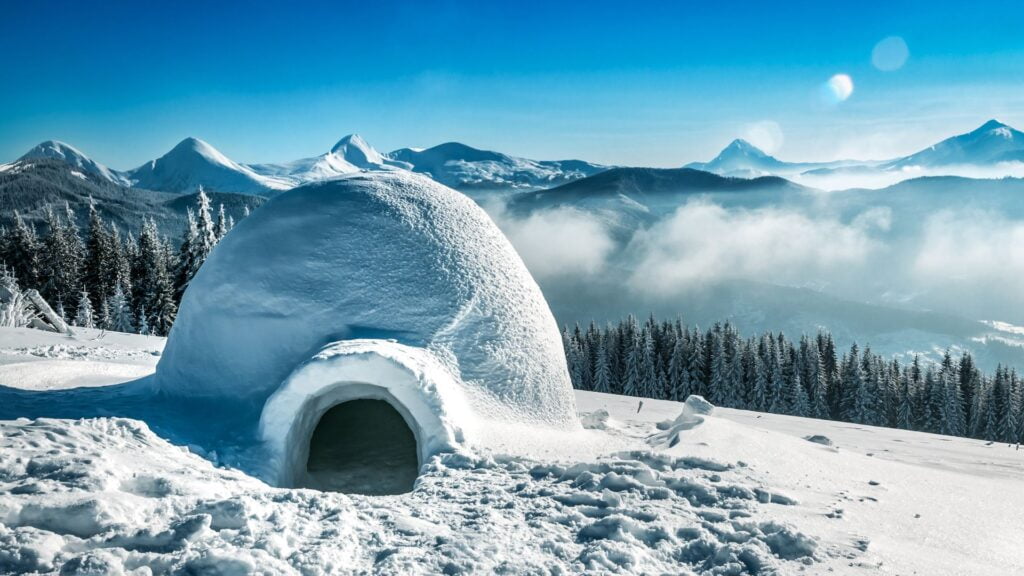
A well-made igloo
The seven steps to build an igloo
Step 1. Choose a suitable location
Building a stable igloo starts with selecting the right location. Look for an area with compact, solid snow, as this type of snow will hold its shape better than fresh, powdery snow. You need at least 30 cm (1 ft) of snow on the ground, but ideally, you want a depth of about 1.2 m (4 ft) to ensure you have enough material to work with and that the snow is dense enough for construction.
Igloo construction relies on a catenary shape, which distributes weight evenly and minimizes structural tension. The process involves cutting and stacking snow blocks in a spiral pattern, ensuring that the dome’s stresses are primarily compressive. The snow used for igloos is often wind-blown and compacted, making it ideal for building. Here’s how to make one.
Avoid areas prone to avalanches or heavy wind exposure, which can compromise the structure’s integrity and, obviously, your safety. A flat surface is essential for stability, and choosing a shaded spot or one that doesn’t get direct sunlight all day will help prevent your igloo from melting.
Step 2. Gather necessary tools and materials
Time to get your hands messy (and cold). You will need at least some of the following tools and materials:
- Snow saw or large knife: Useful for cutting the snow blocks.
- Shovel: Meant to be used for digging and clearing snow.
- Measuring stick: To ensure consistent block sizes.
- Warm clothing: You will want to stay as cozy as possible while you build your icy masterpiece.
Step 3. Create the base
Outline a circle in the snow where your igloo will be constructed. For beginners, a diameter of about 2 m (7 ft) is manageable. Use a stick and a piece of rope to mark a perfect circle: stick the stick in the center, tie the rope to it, and walk around to draw the circumference. This circle forms the foundation of your igloo. Ensure the area within the circle is level and compact the snow if necessary to provide a strong base.
Step 4. Cut and lay snow blocks
Cut snow blocks approximately 90 cm long, 38 cm high, and 20 cm thick (3 ft long, 15 in high, and 8 in thick). Start by cutting blocks from inside the circle, which can then be used to build the base. Lay the first layer of blocks around the perimeter of the circle, ensuring they are tightly packed. Use additional snow to pack any gaps between the blocks, ensuring they are securely in place.
To ensure uniformity, you might want to consider using molds to create the snow blocks. This will help maintain consistent size and shape, which is crucial for the structural integrity of your igloo.
Step 5. Build up the walls
Construct the walls by stacking the blocks in a spiral pattern. Each layer should be slightly smaller and tilted inward to form the igloo’s characteristic dome shape. This inward tilt ensures the structural stability of the igloo. As you build, cut a slight incline on the top of each block to allow the next layer to lean inwards. Continuously fill any gaps with snow to maintain the structure’s strength and insulation.
Step 6. Construct the entrance
Leave a gap in the base layer for the entrance. Construct an entrance tunnel by building up blocks on either side, ensuring it slopes downward to prevent cold air from entering the igloo. The tunnel should be just large enough to crawl through, minimizing heat loss. This entrance design helps trap warmer air inside the igloo and keeps out the colder, denser air from outside . A properly designed entrance also prevents wind from blowing directly into the igloo, which can help maintain a more consistent internal temperature.
And finally….Step 7. Finish the roof
As you reach the top of the igloo, the blocks need to be carefully shaped to close the dome. The final block, known as the “king block,” is very important and should fit snugly to seal the structure. This block is typically smaller and must be cut precisely to prevent any gaps. After the igloo is fully constructed, create a small ventilation hole at the top to allow for air exchange, ensuring the interior remains breathable while retaining warmth. Smart, right?
To reinforce the igloo and make it last longer, lightly spray the exterior with water to create an outer crust of ice. This layer of ice will help solidify the structure and protect it from melting or damage.
Not hard at all, right? By following these steps, you are likely to manage building a functional and perhaps even durable igloo.
How to safely sleep in an igloo
To sleep safely in an igloo, you need to ensure there is a ventilation hole at the top to allow fresh air to circulate and prevent carbon dioxide buildup, especially if you’re using a heat source like an oil lamp. Insulate the interior walls and floor with sleeping bags or additional snow for extra warmth and comfort.
Sleep on an elevated platform to stay warmer, as cold air settles near the ground. Wear as many layers of clothing as needed, including thermal underwear, insulated outerwear, and warm hats and gloves. Make sure your sleeping bag is rated for extremely low temperatures. If using a heat source, place it securely on a stable surface and be mindful of ventilation, never leaving it unattended while sleeping. Finally, seal any gaps between snow blocks with loose snow to prevent drafts and maintain warmth inside.
Interesting ice constructions from around the world
If you’re strongly into igloos and want to search for some design inspiration, you might want to know that there are several locations around the world where you can see elaborated structures that are either igloo per see either or related constructions. Let’s take a look at some examples that might motivate you getting ready for a trip.
Your first stop could be the lands from where igloos originate. For instance, you can go to Nunavut, in Canada, where you can find igloo replicas and participate in igloo-building workshops. You can also visit Greenland, where you have cultural heritage sites which sometimes also include igloo replicas. In many of these sites you can engage in other activities, such as snowmobiling, snowshoeing, and Northern Lights safaris.
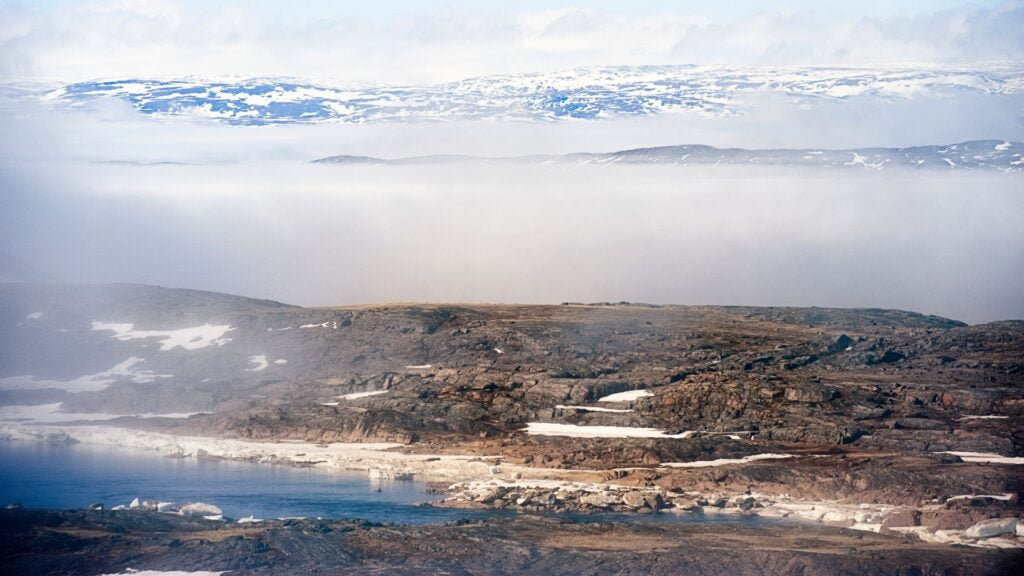
Arctic tundra in Nunavut
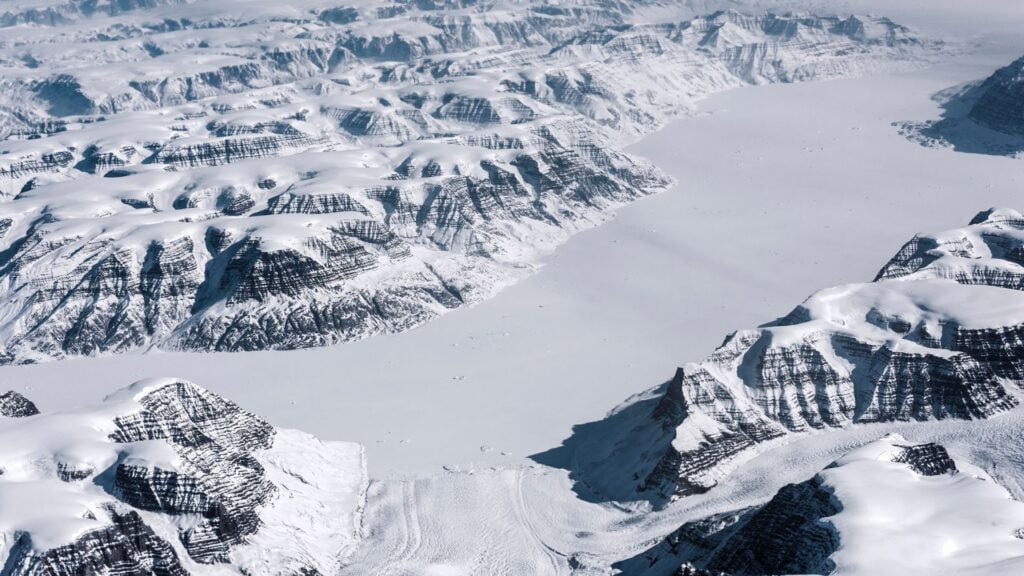
Somewhere in Greenland
For other types of ice structures, your options include the Hôtel de Glace in Saint-Gabriel-de-Valcartier, Quebec, which is the only ice hotel in North America and can be visited from January to March.
Perhaps a more interesting alternative is the ICEHOTEL in Sweden, which is the world’s first ice hotel and rebuilt each year with unique art suites created by artists from around the globe.
Another option is the Kakslauttanen Arctic, in Finland, which is an interesting way to see the Northern Lights, as it includes glass igloos which allows you to view the lights from your bed. Finally, another option is any of the Iglu-Dorf locations in the Alps, which are igloo villages complete with ice bars, restaurants, and sleeping quarters.
Bottom line: You are likely ready to become an igloo architect
Once you’ve mastered the art of choosing the right snow, cutting perfect blocks, and stacking them into a cozy, dome-shaped structure, you can call yourself an igloo architect and an igloo constructor. More so, by mastering igloo constructions, you have one more trekking survival skill that can be of use in all sorts of situations
And, in the unlikely event, you find yourself stranded in the Arctic or Antarctic wilderness with nothing but a saw and a penchant for extreme DIY projects, this knowledge could come in handy and help you survive these cold deserts. The compressed snow blocks of an igloo act as excellent insulators, trapping body heat inside and keeping the interior relatively warm compared to the frigid outside air. This insulation can maintain temperatures just above freezing, even when it’s -30°C (-22°F) outside. While others panic and fumble with their flimsy tents, you’ll be calmly constructing a five-star snow suite, complete with tiered sleeping platforms and a built-in ventilation system. Or something like that.


